Satoshi Test
Note: We recommend that you automate this manual process using the API.
This proof method involves the customer sending a minimal amount of a virtual asset to verify they own the self-hosted wallet account. To initiate a Satoshi Test, you can click the following button:
A pop-up will appear requesting the VASP Deposit Address, the Customer's Wallet Address and the Virtual Asset.
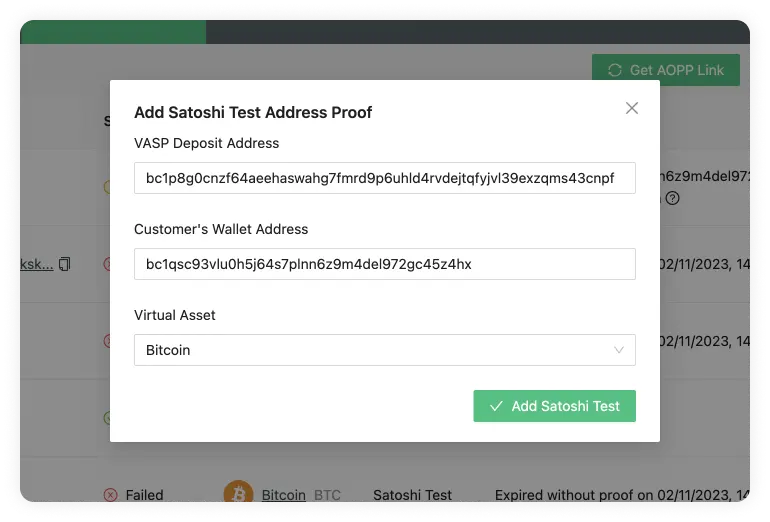
The first would be the address the customer holds at your VASP, and the second will be the address you want to verify ownership of. Lastly, the virtual asset used.
Once all the data has been added and you clicked on the Add Satoshi Test button, you will see the following pop-up:
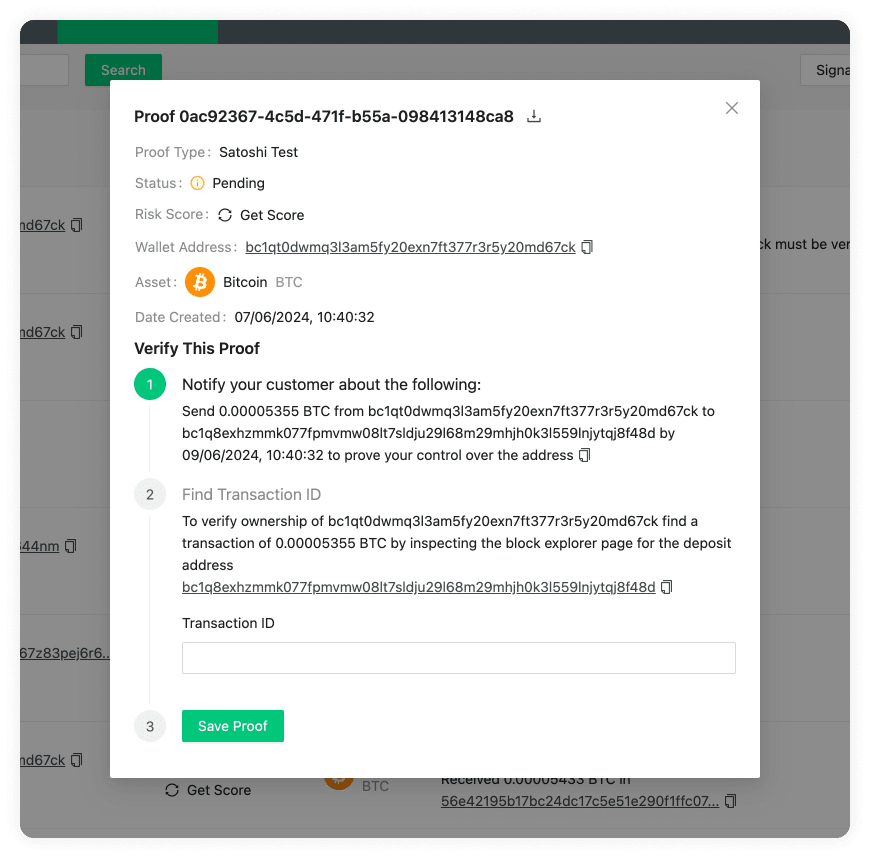
This is a three step pop-up with the instructions to verify, as well as the details of the entry. If you wish to change the amount that should be transferred, you can always modify this in the Configure Your VASP settings.
If you don't have the Transaction ID yet, you can click the X button in the
pop-ups upper right corner to close it and return to the proofs overview where
you will find the following row. Once the transaction has been confirmed on the
blockchain, you can verify the ownership of the address in the
Proofs Overview entry. You can now click on the verify
button represented by a tick (✔).

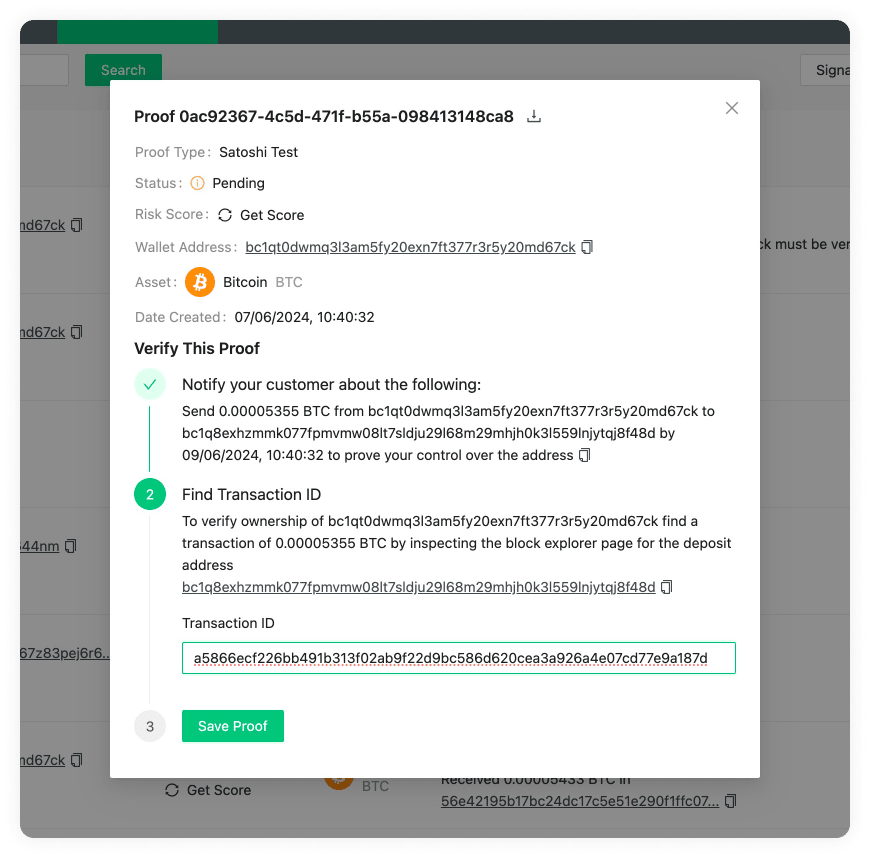
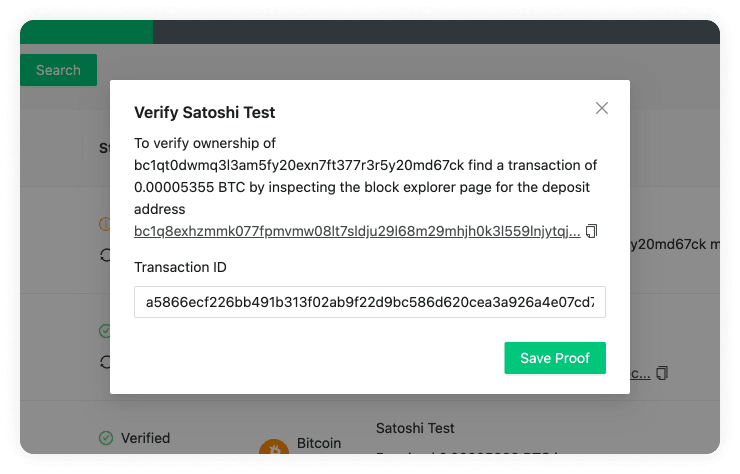
This will open a pop-up. In this pop-up you can see the instructions to follow.
Using a block explorer, one must find the transaction with the defined Satoshis.
Once found, the transaction ID needs to be introduced in the Transaction ID
input field.
Alternatively, you can click on the entry row instead of the verify button and the initial three step pop-up will open.