Authentication
The GraphQL API expects Bearer Authorisation header containing a valid OIDC
access token, usually issued by a Keycloak service which is
integrated into the 21travel
reference deployment.
By default, Keycloak is configured for usage via the web frontend using the
account Keycloak client on the 21travel realm. Below, we describe how to
create an additional Keycloak client on the realm such that API clients can
request access tokens that can subsequently be used to authenticate against the
GraphQL API. Following this recipe, both the web frontend and API clients can be
used at the same time.
Creating a Confidential Keycloak Client for API integration
Within the Keycloak Administration Console:
Create A New Client
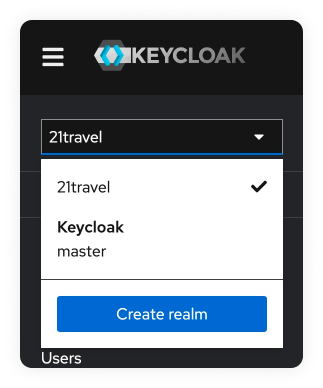
Navigate to the 21travel realm
Then go to the "Clients" tab. Click "Create client".

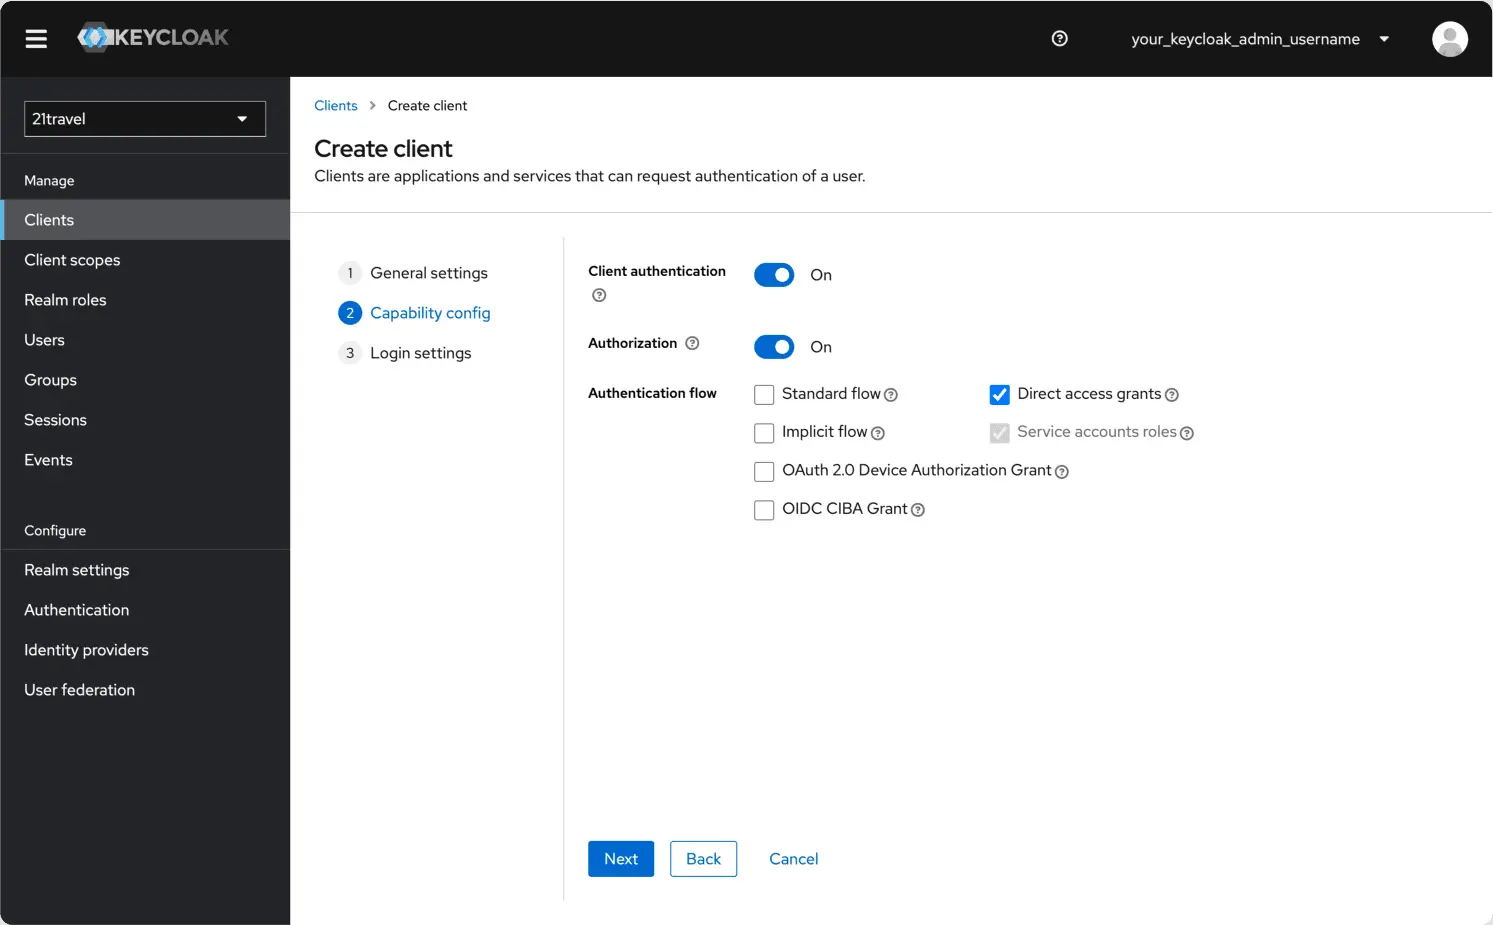
Leave the Client type as "OpenID Connect", and choose an appropriate Client ID, for example "21travel-api". Click "Next".

Switch on Client authentication and Authorization, and make sure only the
Direct access grants and Service accounts roles authentication flows are
selected. Click Next.
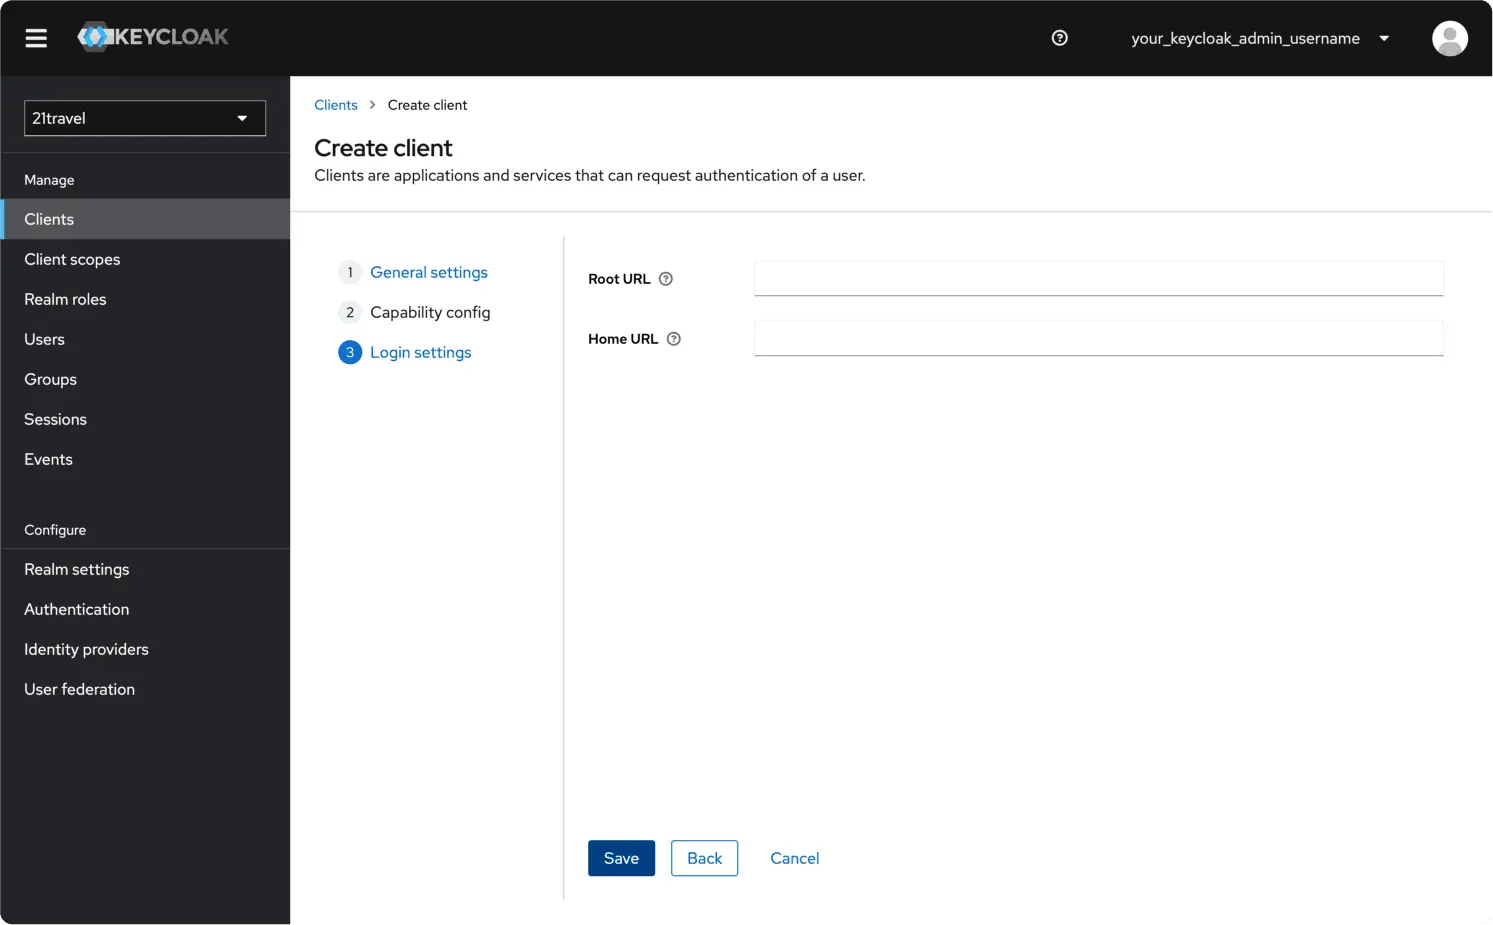
You can leave the final fields blank and click "Save".
Create A New Client Scope
Staying with the newly created client, under "Client scopes" click "Add client scope".
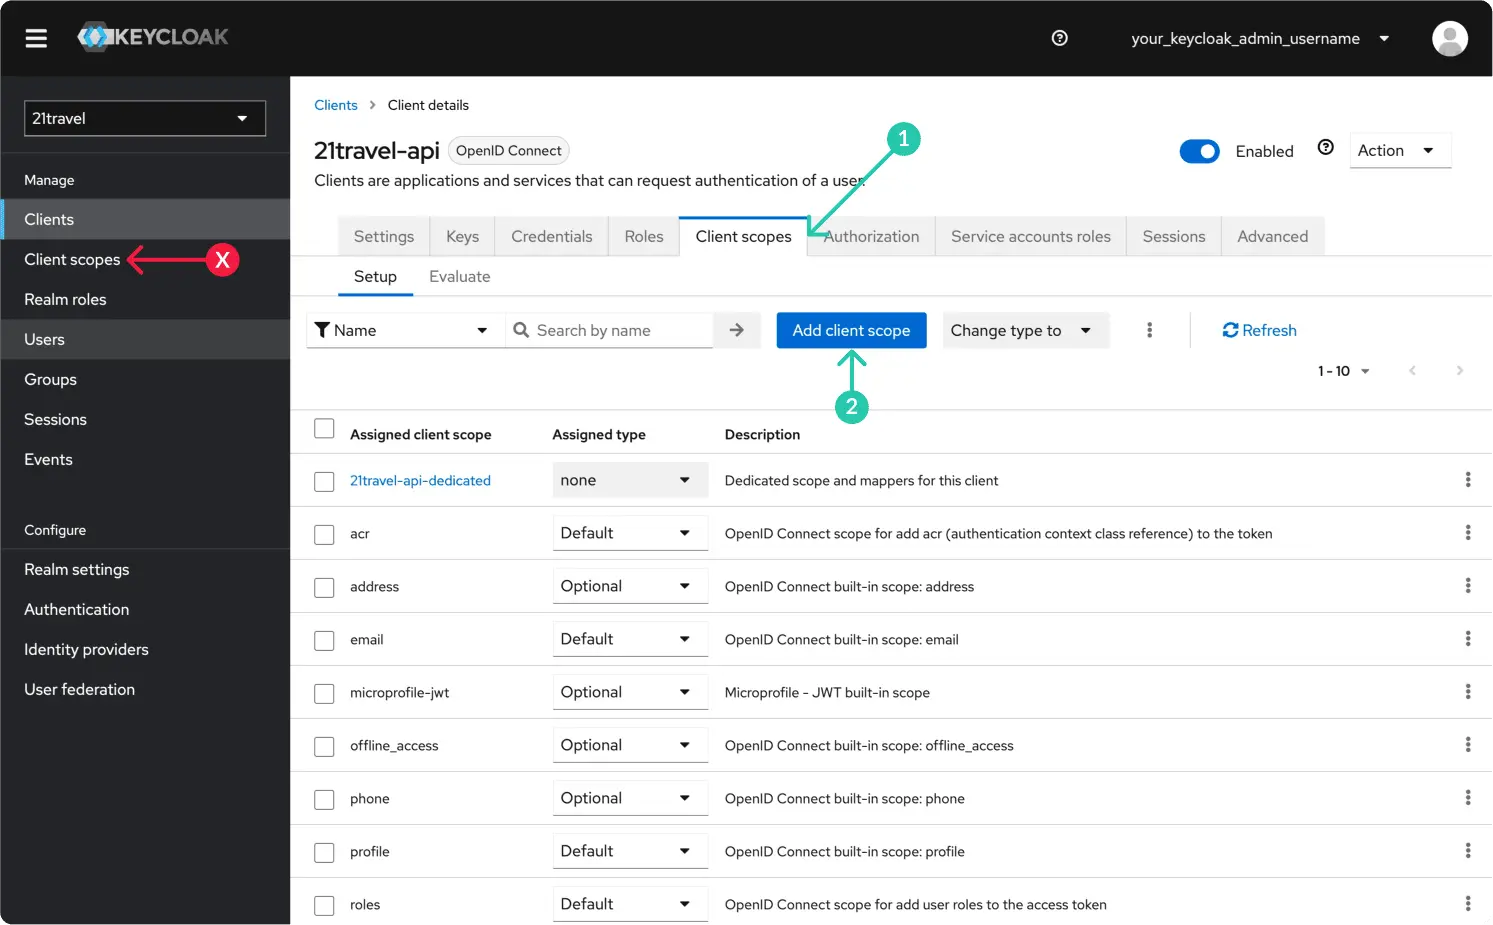
Select the "21travel-audience" scope and "Add" it as "Default".

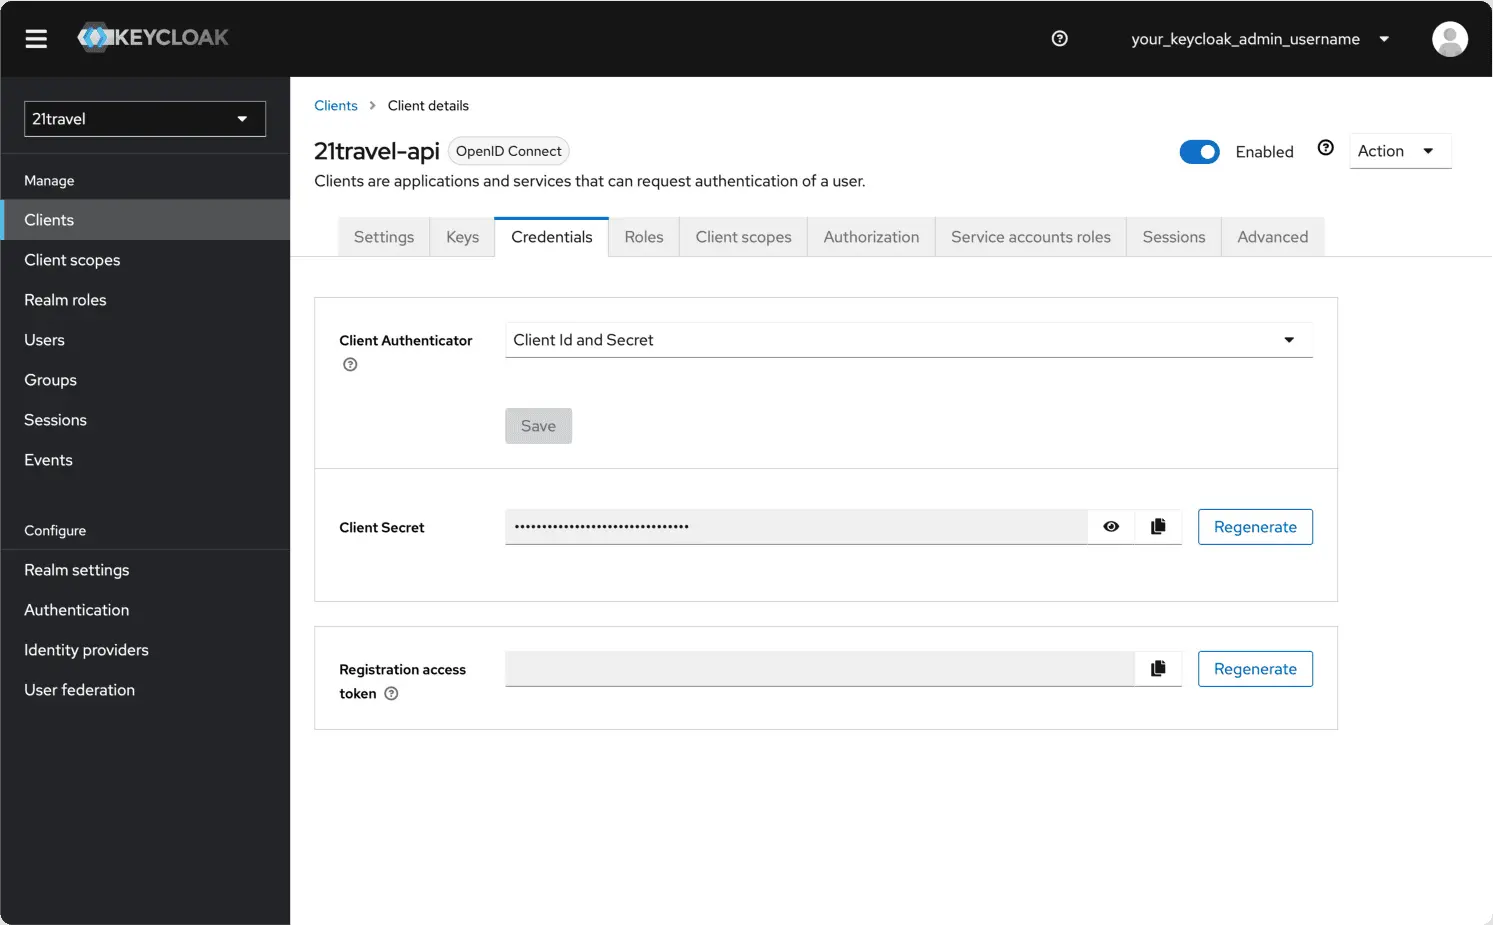
Create A New Client Secret
Subsequently, you can go to the "Credentials" tab and copy the client secret, which you will need below.
Access Token Scopes
Now we are ready to obtain an access token via an HTTP call. We demonstrate this
with the popular curl command line utility:
curl -L -X POST '<your-host>/auth/realms/21travel/protocol/openid-connect/token' \
-H 'Content-Type: application/x-www-form-urlencoded' \
--data-urlencode 'client_id=21travel-api' \
--data-urlencode 'grant_type=client_credentials' \
--data-urlencode 'client_secret=<client-secret>' \
--data-urlencode 'scope=openid'
In the above command, make sure to:
- Use the correct client ID under
client_id=.... - Replace
<your-host>with the host used in the Caddyfile. - Replace the
<client-secret>with the value you obtained above.
This will return a JSON response of the form:
{
    ...
    "access_token": "<access-token>",
    ...
}
You can now use this token to authenticate against the GraphQL API, for example querying the names of all TRP VASPs:
curl '<your-host>/graphql' --compressed -X POST -H 'Authorization: Bearer <access-token>' --data-raw '{"query":"{ trpd { vasps { name } } }"}'
Make sure to replace <your-host> with the host where the autod GraphQL API
is reachable, as well as to insert the <access-token> obtained above.
Authentication for GraphQL subscriptions
As is detailed on the subscriptions page,
the GraphQL subscriptions are run over a Websocket protocol. Authentication
happens as part of the initial handshake on an established Websocket connection.
To this end, clients must include the very same Bearer token obtained from
Keycloak mentioned above as the optional payload
in the initial
GQL_CONNECTION_INIT message
as follows:
{
    "bearer_token": "<access-token>"
}
Usually, Websocket GraphQL clients come with built-in support for setting this payload, for example the JS Apollo client.