Upgrade Guide 6.0.0 to 7.0.0
Important Note
Backup Your Data Before Proceeding!
Moreover, this guide assumes that the steps below are executed in one session.
If the session is interrupted (e.g. due to a logout) then the passwords need to
be re-exported in given order. Only then, the upgrade procedure can be
continued at an intermediate step without receiving errors.
Acceptance Testing
Before upgrading your production instance we encourage you to exercise the upgrade scenario on your acceptance testing instance.
Shutting down 21Travel services
Enter the following to shut down 21Travel services.
The passwords assigned to the environment variables below have been chosen
during initial deployment. The
export statements can be omitted in case an .env file is used.
cd 21-travel-deployment
export POSTGRES_PASSWORD=secret_password_1
export AUTOD_DB_PW=secret_password_2
export AOPD_DB_PW=secret_password_3
export TRPD_DB_PW=secret_password_4
docker compose down
Obtaining the 7.0.0 deployment environment
To obtain the 7.0.0 deployment environment enter the following.
git fetch origin
git rebase 7.0.0
If you get stuck during the rebase you can restore your previous state by entering the following.
git rebase --abort
If you would like to switch to the 7.0.0 deployment environment discarding your
custom changes (e.g. domain names in Caddyfile) then enter the following.
git fetch origin
git reset --hard 7.0.0
# add necessary changes to Caddyfile
nano Caddyfile
git commit -m "Caddyfile: adjusted domain names" Caddyfile
Upgrading data from Postgres 14 to Postgres 16
Initiate the data migration by entering the following.
mkdir pg16_data
DOCKER_BUILDKIT=1 COMPOSE_DOCKER_CLI_BUILD=1 docker compose -f upgrade-postgres.yml up
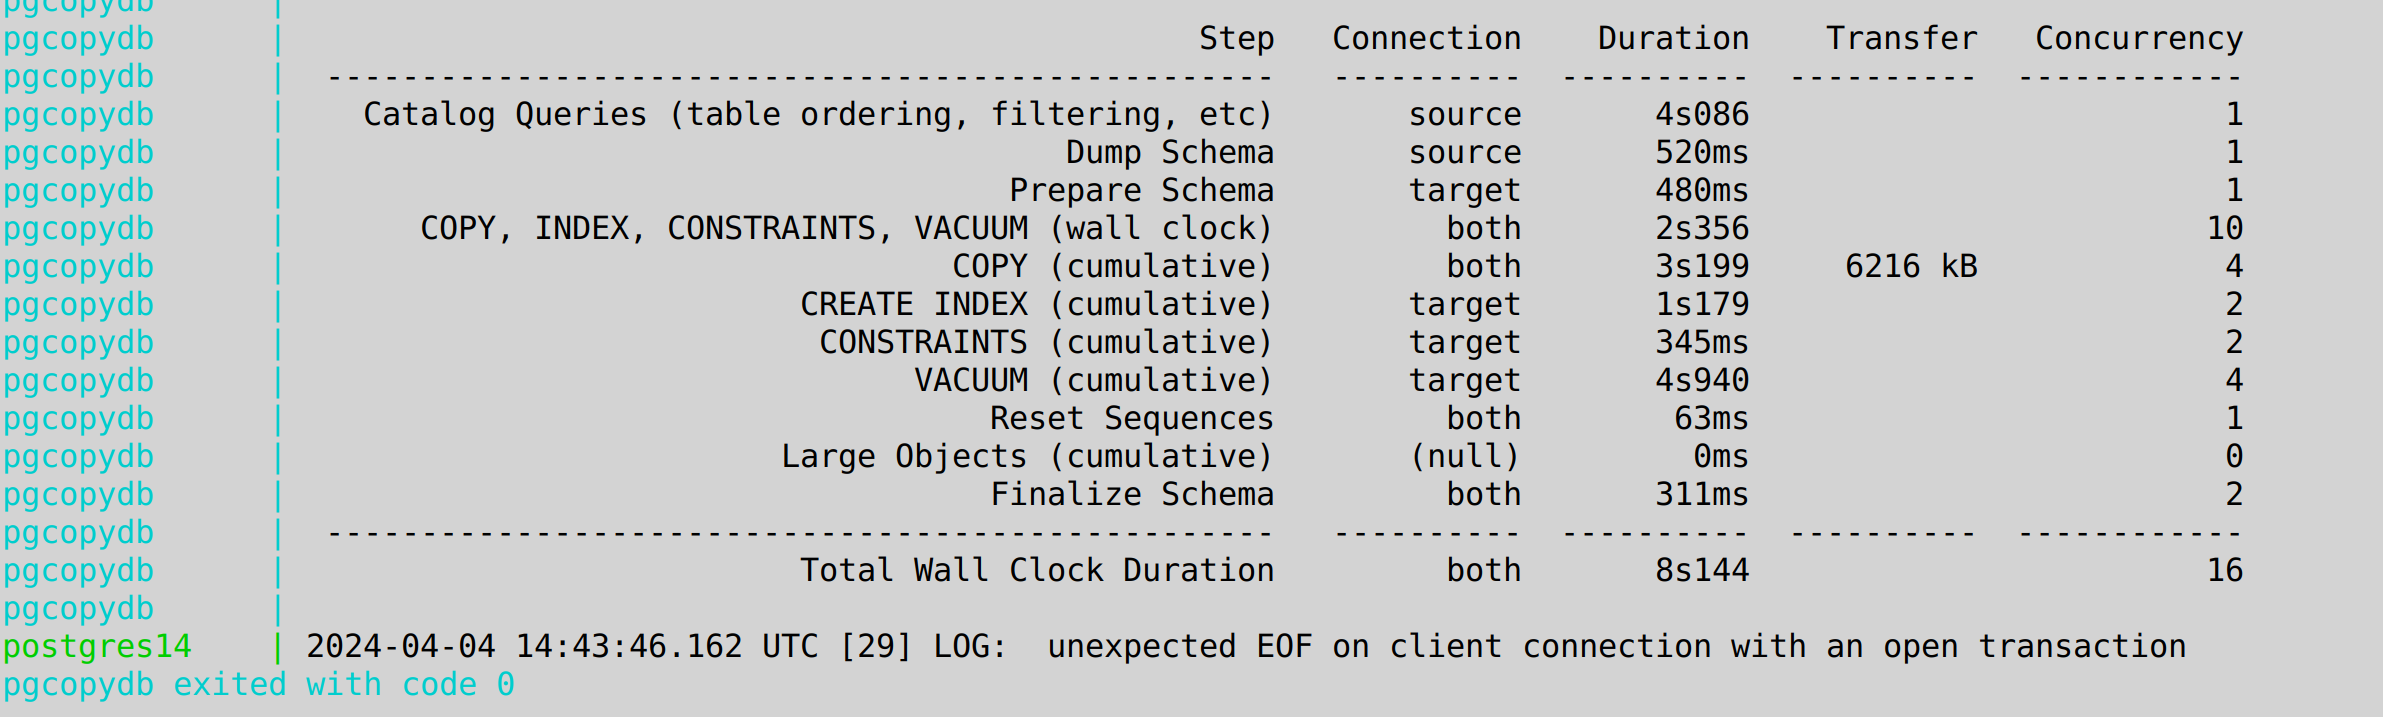
Observe the logging output. Once you can see a summary table and
pgcopydb exited with code 0
printed on the console you can press Control-C to terminate the database instances.
Changes in User Management
Version 7.0.0 is the first version to use an integrated Keycloak service for user management.
Please note that all the user information previously managed by 21travel will
be deleted. You will need to add your users to Keycloak, or configure Keycloak
to delegate to a pre-existing IAM solution.
Choose a database password for Keycloak
The value of KEYCLOAK_DB_PW should be a secure password of your choice. Please
use a password/secrets manager to store it for future use.
export KEYCLOAK_DB_PW=secret_password_5
Choose credentials for the Keycloak Admin Console
These credentials are used to log into the
Keycloak Admin console. The
value of KEYCLOAK_ADMIN_PASSWORD should be a secure password of your choice.
Please use a password manager to store the credentials for future use.
export KEYCLOAK_ADMIN=your_keycloak_admin_username
export KEYCLOAK_ADMIN_PASSWORD=secret_password_6
Create database, role and schema for Keycloak
docker compose up -d postgres
docker exec --user postgres -it postgres createdb keycloak
docker exec -i -e PGUSER=postgres -e PGDATABASE=keycloak postgres psql <<EOF
CREATE USER keycloak PASSWORD '$KEYCLOAK_DB_PW';
CREATE SCHEMA AUTHORIZATION keycloak;
\q
EOF
Starting 21Travel services
export TRAVEL_LOG=info
docker compose up -d
Configure Keycloak
To finalise the deployment it's necessary to adjust settings in Keycloak's admin console. Please see the dedicated guide for more details.