AOPP Portal
Introduction
Using AOPP Portal, VASPs can easily generate unique URLs that allow their customers to prove ownership over a self-hosted wallet. These proofs will be sent to, verified by and stored in 21 Travel Rule.
Workflow
- A VASP's customer is required to submit proof of ownership for an address.
- The VASP requests an AOPP Portal Link via the GUI or the API. In addition, it obtains a proof ID.
- The VASP loads the AOPP Portal Link in an
iframeor redirects the customer to the AOPP Portal Link. - The customer completes the ownership proof and (if necessary) is redirected back to the VASP's main page.
- The VASP receives a notification about the completed proof via the GraphQL subscription API.
- The VASP correlates the proof ID from the subscription notification with the proof ID it has obtained in step 2 and proceeds accordingly.
Configuring the AOPP Portal Base URL
Ensure that the AOPP Portal URL is configured.
Obtaining an AOPP Portal Link
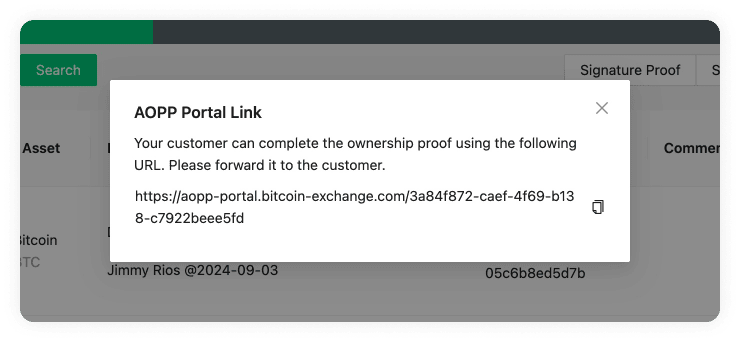
In the 21 Travel dashboard, navigate to Self-Hosted Wallets and click
AOPP Portal Link.

Fill in the corresponding values in the form. The deposit transaction type
will require the customer to submit his
xpub key. If
you leave the signed message empty, a random one will be generated for you.
The AOPP Proof Link will be displayed after you click AOPP Portal Link.

If you are integrating with our API, a AOPP Proof Link can be obtained with the
requestAoppProof mutation.
Optional Redirect Query Argument
The AOPP Portal supports the usage of a redirect query argument, which can be optionally added after you have obtained the AOPP Portal Link from the API:
https://aopp-portal.vasp.com/someid?redirect=www.vasp.com
By using the redirect query argument /someid?redirect=www.vasp.com, a VASP can
redirect a customer back to its main site upon successful proof submission. A
valid URL must be entered, or the query argument will be ignored.
Wallet Address Picking Strategies
Different wallets will inhibit different strategies for picking an address for the ownership proof. These are detailed below.
BitBox
BitBox picks the next available address.
Ledger
Ledger picks the native segwit address at index 0. Native segwit needs to be configured in the settings of Ledger Live in order for the address to become visible.
Trezor
Trezor picks the native segwit address at index 0.